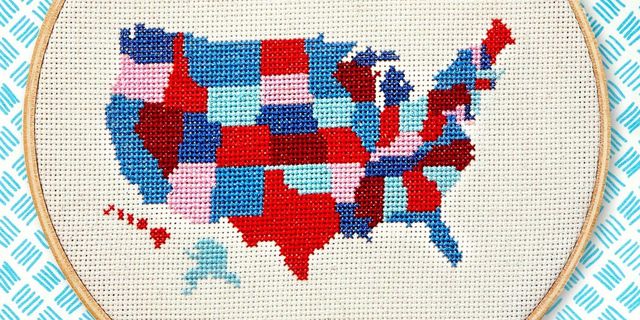
I didn’t know how to make cross-stitch patterns for a long time. It seemed super difficult to me.
It’s not as difficult as you might think! There are many online resources that can help. In this post, I will show you how to create your cross stitch pattern.

Cross stitch is different from surface embroidery in that it uses squares in the Aida/even weave fabric like a graph and it’s a type of counted needlework. Cross stitch can be done without a stencil. Instead of using a stencil to transfer your design to the grid, it is easier to use a pattern that has been all mapped.
Cross stitch patterns can be difficult to follow in this format.
Cross stitch patterns are a great way to learn if you have never tried one. I recommend that you read this article about reading cross stitch patterns first. This will teach you how to organize your own patterns!
You don’t have to be a pro at cross stitching, so keep reading!
Free Cross Stitch Pattern Maker Online
This Stitch Fiddle online resource that I used to create my cross stitch patterns was a free one. Sign up for a free account to save your work.
A paid version is available, but it does not give you more space to save projects or more options such as copying portions of the design, cutting and pasting, and so on.
Designing the Cross Stitch Graph
First, choose the type of project. Next, choose from different types of embroidery threads: DMC, Anchor, or another.
Once you’ve chosen the type of floss that you want, you can create a cross stitch graph from scratch or upload a photo. In this case, I will be choosing the blank canvas.
Next, decide the size of your project. You can use a cross stitch calculator to determine the size of your project based on how many Aida you have.
This is vital because you might run out of space when designing your project. It will calculate the size of the chart/project for you by entering the dimensions of your fabric and Create your own cross stitch pattern.
I have learned the most important lesson in making patterns: Don’t underestimate how big you will need to make a complex one.
After you have chosen the size, you can start creating! With the color selections in the sidebar, you can select from any DMC color.
Here’s a sample of the cross stitch alphabet that I created with the program.
How to make a cross stitch pattern from a photo
Another cool feature of this program is the cross stitch pattern. Upload a photo to get a cross-stitch pattern.
After the image has been uploaded, you can adjust the cross stitch count or view a live copy of the pattern.
Tip: A higher cross stitch count will result in a better quality image. It’s important to not make it too large or you might never finish it.
However, you will need to remove the pattern. The best photos are those that have minimal colors and are very simple. Some photos don’t work for me.
Finalize and download your pattern
It is very easy to download the pattern. There are many file options available, including image files, PDF, docx and PDF. I save the PDF file whenever possible. I also try to keep the pattern as small as possible. Larger patterns may make it difficult to fit onto an A4 sheet of paper.
Print the pattern with the color key as well as the cross-stitch pattern that you have created.


